Single projector example#
This example shows how to project onto a known object for which we have a 3D model. The workflow is as follows:
create a 3D model of the object which will serve as a projection surface,
export from Blender a draft configuration file,
open the file in Splash, calibrate the projector,
load some contents to play onto the surface.
To do this this tutorial, you will need:
Splash installed on a computer
a video-projector connected to the computer
a box-shaped object
Create a 3D model of the object#
To keep things simple, the projection surface will be a simple box, or a cube in our case. This makes the creation of the 3D model easy, which is good as it is a bit out of the scope of Splash. Indeed, Splash is dedicated to handling the video-projectors, not creating the 3D model. So creating the model from the dimensions of the real object is an option, photogrammetry is another.
So, assuming you know how to use Blender, at this point we have a real object and its virtual counterpart, which looks quite similar geometry-wise. I did not measure the plaster cube, which proved sufficient if not perfect in the following steps.
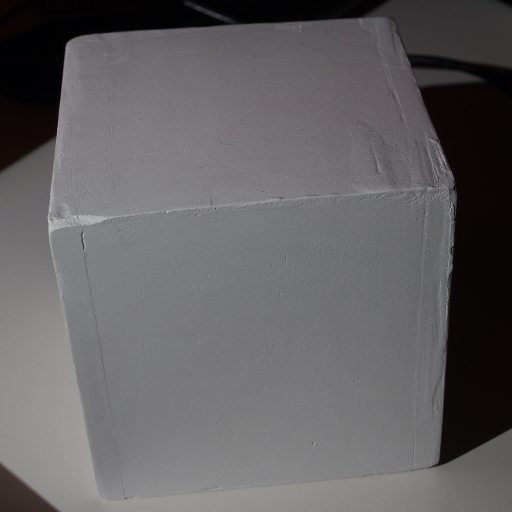
Real object#
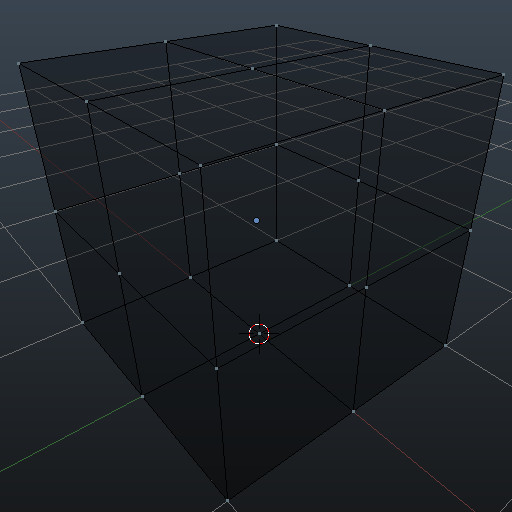
Virtual object#
A useful note is that projector calibration needs the user to set at least seven points for each projectors, which means that each projector must see at least seven vertices. So add some vertices (i.e. using subdivision) if your model is a simple cube.
We need some texture coordinates for the projection mapping to happen, you can add them simply by entering Edit mode with the mesh selected (Tab key), press ‘U’ and select ‘Smart UV Project’. Then exit edit mode by pressing Tab again.
Configuring Splash#
Splash can be configured directly from inside the software, or using the Blender addon. Both have their advantages. Configuring from inside Splash allows for not having to learn Blender (which can be a good argument if you create the 3D model using another software). And it is usually faster to start a new configuraton as no export/import is involved, even though the interface can be a bit verbose. On the other hand, configuring using Blender allows for pre-placing the 3D model and the cameras, which can lead to easier calibration afterwards.
For this example we will consider that there is one screen and one video-projector connected to the computer, the video-projector being the second display with a resolution of 1920x1080. We want to output on the video-projector, but still have a window for the GUI on the first screen.
Configuring inside Splash#
To start with creating the configuration from inside Splash, I strongly suggest first reading the introduction to configuring Splash. In fact by following this tutorial, Splash will be almost ready to continue with calibrating the projector, except that you would need to delete one of the cameras (or refrain from adding it in the first place). Once you prepared the configuration by following this tutorial, make sure you save it into its own file.
There is one last step though: exporting the 3D object from Blender and importing it into Splash. Splash uses OBJ files for 3D object storage. Inside Blender, select the 3D object previously created and open the menu File > Export > Wavefront (.obj). Set the following options:
activate Selection Only, to export only the 3D model and not the rest of the scene
set Up Axis to Z, to match the axis of Splash
disable export of the materials, as they are not needed
You can now export the 3D model into the OBJ file of your choice. It is advised to keep it close to the Splash configuration file previously saved.
Now back to Splash, go to the Meshes tabulation and load the OBJ file using the … file selector. The 3D model should appear in Splash with the default texture. You are now ready to jump to the Projector calibration inside Splash section.
Exporting the configuration from Blender#
Here we will create the configuration for Splash using Blender. Before all make sure you go through the documentation of the addon, as this will help you for what’s next.
Continuing with the Blender scene that we created in the first part, we will take advantage of the fact that a default camera is already present inside the 3D scene. We can create the Splash node tree. Go to the Splash node editor, and create and edit a new node treeIt to look like this:
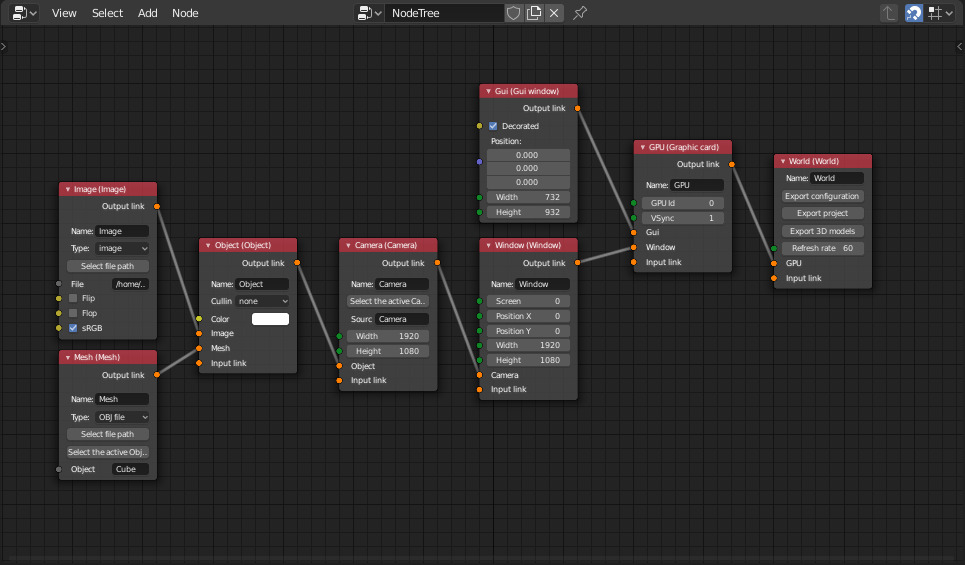
Blender node tree configuration#
The GUI window is created through a dedicated node, the other window is created through a Window node which is set as fullscreen on the second screen (which has 1 as an index). The Camera holding the video-projector parameters is connected to this Window, and the Object is connected to the Camera. The Mesh node is set to use the data from the Blender object representing a cube, and the Camera is set to use the data from the Blender camera. Lastly, the chosen image for the Image node is the file ‘color_map.png’ located in the ‘data’ folder of the Splash sources, as it is very handy for calibrating.
Now we have to click on ‘Export configuration’ from the World node, which will export all the nodes connected to it. Let’s name the output file ‘configuration.json’. The Blender object’s mesh will be automatically exported in the same directory.
Now is the time to run Splash with our newly created configuration file. To do so, either open Splash with a default configuration file and drag&drop the new configuration file onto one of the windows ; or launch Splash in command line with the configuration file as a parameter:
splash configuration.json
Two windows will appear. One is the window you set up previously, appearing on the video-projector and displaying the box, though not calibrated at all. The other window appears blank, but a simple Ctrl + Tab on it will show the GUI, which will be helpful to go forward.
Projector calibration inside Splash#
Navigate through the GUI, the important tabulation being ‘Cameras’. Open it, and select the camera we set up in Blender (which is subtly named ‘Camera’). What is displayed in the 3D view is now exactly what is projected through the video-projector (well, except for the scale).
Now press Ctrl + W: this switches the view to wireframe. Now we will set seven calibration points. This goes as follows, everything being done inside the GUI view:
select a vertex on the mesh by left clicking it,
the selected vertex now has a sphere around it, and a cross appeared in the middle of the view,
move the cross by pressing Shift and left clicking anywhere in the view,
while looking at the projection onto the real object, place the cross on the point corresponding to the selected vertex,
you can move the cross more precisely with the arrow keys,
repeat for the next vertex. If you selected the wrong vertex, you can delete the selection by pressing Ctrl and left clicking the vertex,
also, you can update a previously set vertex by re-selecting it.
Once you have set seven vertices, you can ask for Splash to calibrate the camera / video-projector: press C while hovering the 3D view. You should now see projected onto the real object the wireframe of its virtual counterpart:
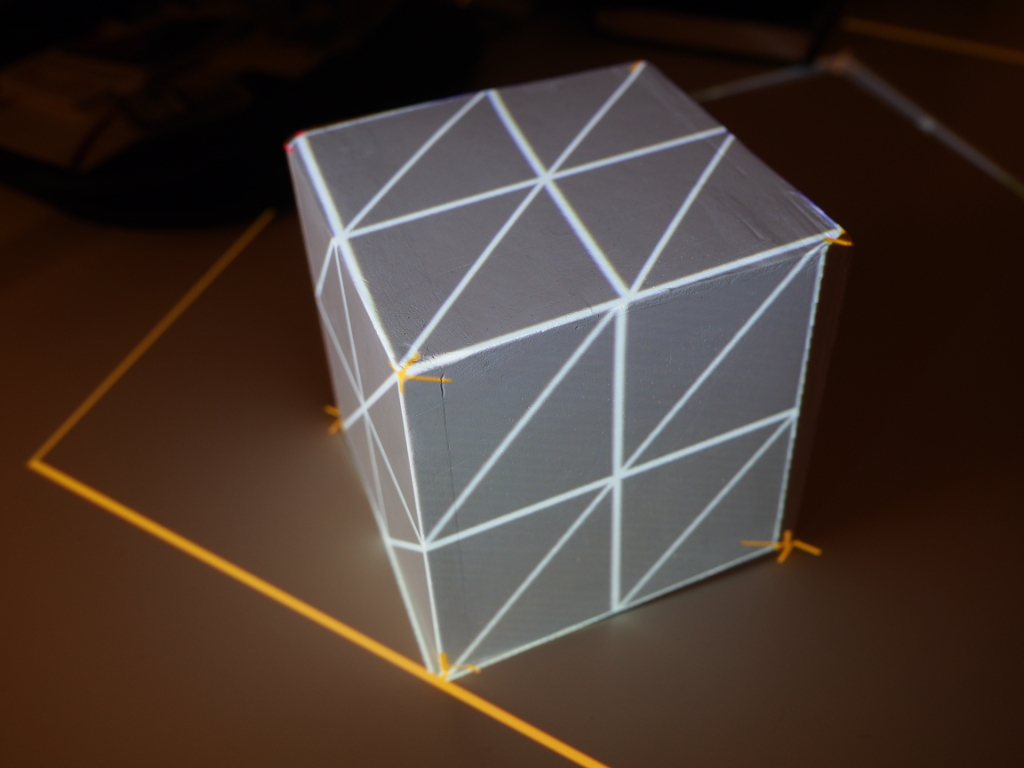
Wireframe projection#
Switch back to textured view with Ctrl + T, and save the result with Ctrl + S. The calibration is done, and we can now set a video to play onto the box!
Add some video to play#
The final step is to replace the _static texture used previously with a film. Still in Splash, go to the Medias tabulation. There you have a list of the inputs of your configuration and you can modify them. Select the only object in the list, that change its type from “image” to “video”. Next, update the “file” attribute with the full path to a video file.
And that’s it, you should now see the video playing onto the object, according to the UV coordinates created in Blender. Here I set the same coordinates for all faces of the cube, so that the same video is mapped on each one of them.
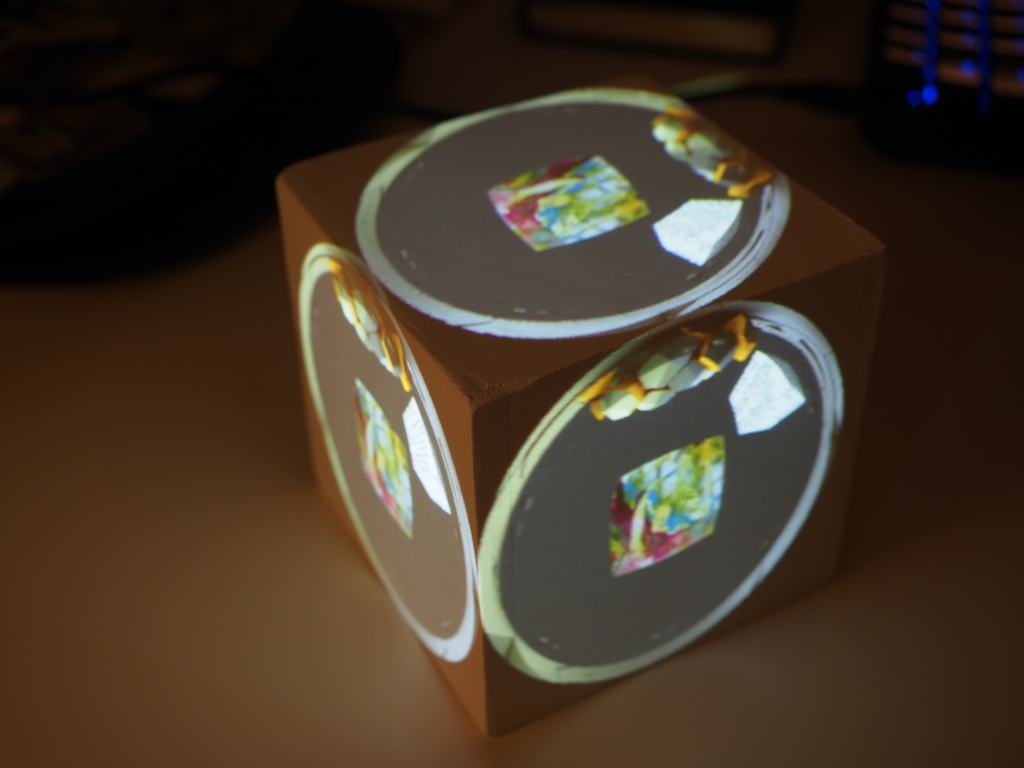
Video on the sides!#
There is a lot more to it, as with this method you can calibrate multiple projectors (virtually unlimited), projecting onto multiple objects. The blending between the projectors is computed automatically by pressing Ctrl + B once the calibration of all the projectors is done. It is also possible to feed Splash with a mesh modified in real-time in Blender, using the Splash panel in the 3D View tool shelf.